
Getting started as a member
Anyone can join SKYDB for free for exploring the world of tall buildings. If you are a new here, welcome to SKYDB.
The goal is to make building a structured database efficient and rewarding: an ever-improving platform for information, and a community where you can work with people whose interests are similar.
Below is a basic outline of topics to help you get started:
Adding an object
The best way to add a building, structure, or other object is to start on the full-screen map. Either enlarge a map on the region page or any nearby object. Click the "Add object" button in the upper right corner, point the cross-hairs (+) where the object is, and click.
To protect your input from vandalism or from being overwritten by inferior data, enter a source type and (if applicable) further source details on the right side of the tool. If one source covers most of your data, enter it as a default source as soon as you load the tool (the default source cannot be changed once you start entering data). For example, if you gathered data by walking past a building and looking at it, select "personal observation" and select the date.
Now you can begin entering the object's data. The most commonly used fields are displayed on the left; the geo-coordinates are already entered if you clicked on the map, but you can refine them by clicking the square box to the right of the coordinates. This opens a satellite image of the area.
Only 4 fields are mandatory for an object: Name, Geo-coordinates, Structural form, and Status. You are encouraged to enter a text address and a usage whenever this is possible.
Adding data to an object
The tool for adding a new object is identical to the tool for editing data on an already-entered object. If the object already exists, click "Edit" either on its page or in its small info window. Data fields are on the left side of the tool, while sources and metadata go on the right.
Some data fields (like "name", "address", and "floors above ground") are text or numeric input fields. Other fields select values from a pre-defined menu. As a beginner, you probably want to browse the available options by clicking the square box just to the right of the field. Here you get a hierarchical menu with definitions for each term.
Please take some time to learn the available terms (e.g. what is a low-rise building, or what do the different statuses mean). For more information, click the fields on existing buildings to see definitions.
If you already know the correct term, simply start typing it in the field and it will come up fast. You can also use shortcuts, e.g. typing "ete" in the status field brings up the value "completed".
The menu for facade colors displays a color picker grid.
Many fields (such as historic dates, feature, and facade material) allow multiple values. To add another value, place the cursor in the field and either click the green + icon or hit "alt-a".
Only the most commonly used fields are displayed initially. To add any other data (such as "number of retail units"), select the field at the bottom of the tool.
Adding dates of construction
Entering the dates of completion or other dates for a structure is still a bit complicated. A more user-friendly system is in development.
All dates should be entered using the "historic dates" field. You do not enter a date here; rather an event. The most common ones are "foundation work begins" (i.e. beginning of construction) and "completion".
The actual date value goes on the right side, under "Expert mode", in the Timeline field, once you have selected the event type (e.g. "completion"). Enter the source separately for each date entry.
Many other dates can also be added, e.g. "first window installed" or "damaged by tornado". To add more than one date/event, place the cursor in the historic dates field and either click the green + icon or hit "alt-a".
Connecting a company to an object
There is a separate tool for linking companies (e.g. architects, developers, property managers) to objects. You will find this on the object page after the object has been created. The tool works like the object add/edit tool: enter your source, and begin typing the company's name in the field corresponding to its correct role.
If the company does not exist yet in the database, go to the "Submit" heading in the top menu bar and select "Add company" from the menu.
Adding images
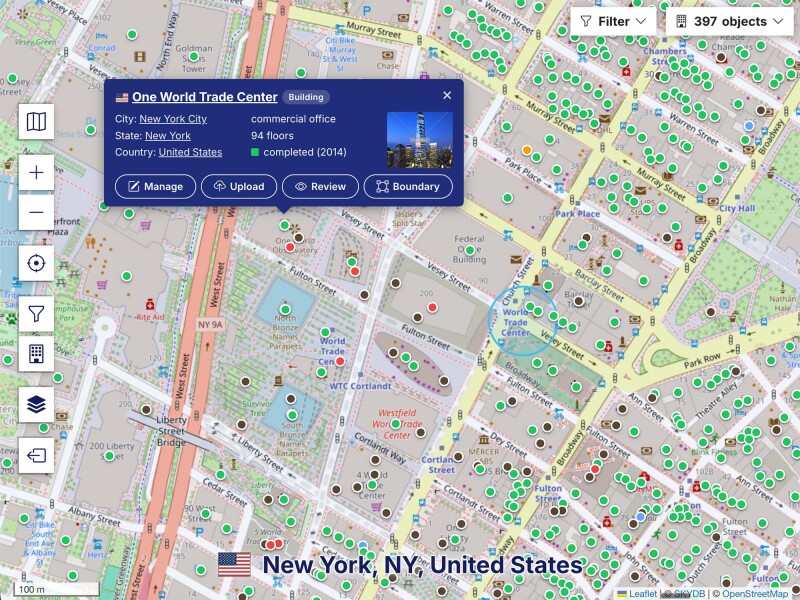
You can upload photos to any object. The upload tool is in the info window (e.g. when clicking on the building's icon on the map or its name in a list), or on the object's page in the upper left corner of the image viewer ("Submit Files").
After uploading the photo you must edit it before it will show. The description and keywords are optional; most critical are ownership and categories. For example, if you took a building photo you might pick "I am the author of this photo" for ownership and "exterior view" as the category.
Adding weblinks to objects and places
To add weblinks to any object or region, paste the URL into the Weblinks field and click "Save". Many links are supported; the most important are the Wikipedia link and the official website.
By adding Wikipedia links to regions (e.g. cities, provinces, neighborhoods) you help SKYDB get data updates from dbpedia, a structured database which draws from Wikipedia's infoboxes. Wikipedia links also enable possible future features, such as embedding Wikipedia text on the display page.
Note: Experienced members can apply to become a volunteering editor. This will give you access to more information and tools.